 Step number 1:
Open up a web page and navigate to Google
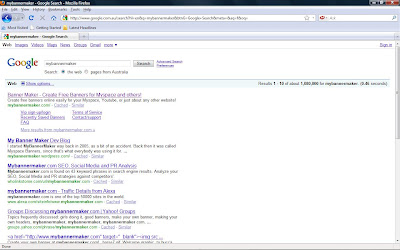 Step number 2:
In the Google search bar search for mybannermaker. Click on the first result that appears (see above). Once you have loaded up the new page proceed on to the next step.
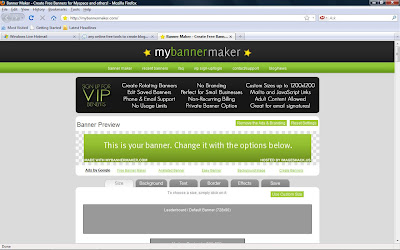 Step number 3:
Now you should have a page looking like the one above^^^. Here you can chose the size of the header you would like to make. In this case I chose 728x90 which is the average header size. once you have picked the size click on 'background' on the tab of options just below the header preview. Once you have done this proceed on to the next step.
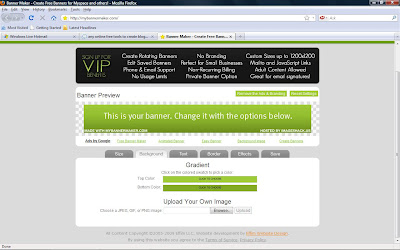 Step number 4:
On this page you can browse through the background colors and pick the one that best suites you. If you would rather pick a picture of your own to set as the background then just click on the browse button down the bottom of the screen and chose your picture. Once you have a color that suites click 'Text' and proceed to the next step
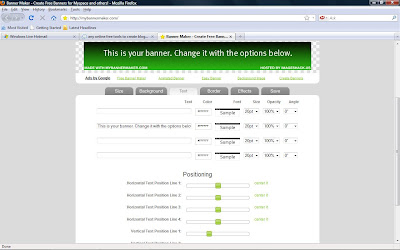 Step number 5:
Now this page is probably one of the most important steps as you will be choosing what your header reads. You can pick anything you want. Go on.
Once you have put down the text you want you can add other text above or below the main one. once you have finished editing your style and size of the text please proceed on to the next step.
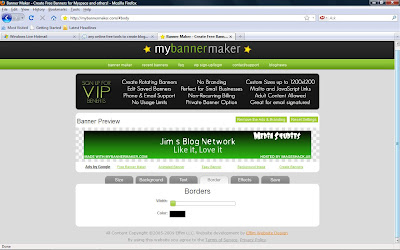 Step number 6:
On this step you will putting a border on your header (if you want to that is). You can pick which color you would like and also the width of the border. Once you have chosen this click on the effects tab and proceed on to step 7
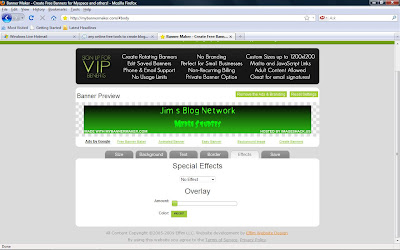 Step number 7:
In this step you can funk your header up. Chose from one of the effects in the drop down list. you can chose the intensity of the effect just below the drop down bar. Once this is done proceed on to the save tab and also on to step number 8
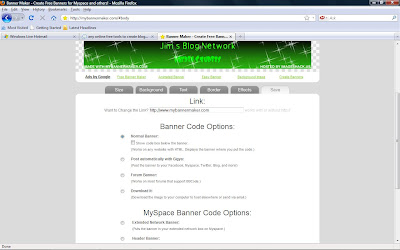 Step number 8:
Yes you are nearing the end of creating your master piece. As you will see after you have clicked on save it will come up with a list of ways you can save your banner as. For the most simple way you can just click download. (this will download the header to your computer so you can upload it to where ever you want). Once you have selected the way you would like to save your header scroll down to the bottom and hit 'save the banner'. Once you have done this proceed on to step number 9
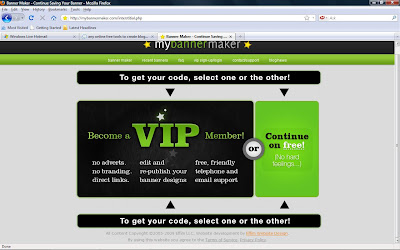 Step number 9:
Lucky last step once you have the best looking banner EVER you can download it to your computer.
I hope you have enjoyed this blog on how to make a banner using mybannermaker. Thanks
